Home staging can make or break a real estate sale. In fact, the National Association of Realtors says that staging impacts the decision for nearly half of buyers.
Unfortunately, hiring a home stager may not be in the budget for every seller. But real estate agents can get by without one by using some tried and true techniques. Here are four easy home staging tips to prepare your client’s house for photos and beyond.
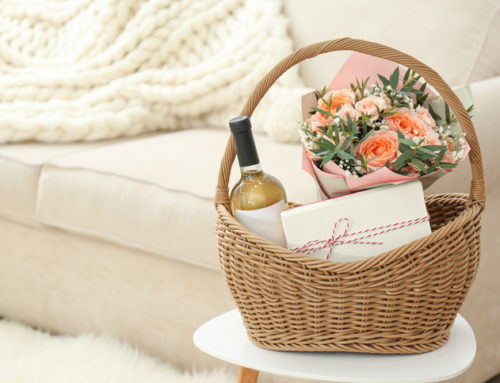
Maximize space.
Rule number one of home staging? Maximize space! Buyers need to know they can fit their belongings in the home. Storage space can make or break a sale.
Make sure your clients clear the home of any extra clutter. That doesn’t mean hide it in a drawer—buyers look there, too! Donate it, throw it away, or store it in a U-Haul; just get it out. Next, pull out as much extra furniture as possible. That will maximize floor space. In staging, less is more.
Clean house—literally.
Remember mom’s annual spring-cleaning bonanza? Your clients should make that look like a cakewalk. This might seem like a no-brainer aspect to home staging. But here’s the catch: dirt and dust can negate even the best real estate staging setup.
So, sellers should sweep and vacuum every square inch. Clean the windows. Sweep the porch. Dust. Scrub the baseboards. Take a Mr. Clean Magic Eraser to scuff marks on the walls. Shampoo away carpet stains.
If clients want to go the extra mile, have them polish the wood floors so they really shine. Make mother proud; buyers will be impressed, too.
Once the cleaning is done and the vacuum’s back in the closet, take a deep breath. Smell any funky odors? Does Fido’s pet-stink hang in the air? Unknown scents can be a turnoff, but your clients shouldn’t just mask them by dousing the place in Febreze. Go for fresh-baked cookies or a nice candle instead. Simply opening the windows to let stagnant air out and fresh air in can make a world of difference.
Last but not least, take the clean aesthetic to the home’s linens. Dingy carpets and wall hangings should go. And in the bathrooms, Houzz recommends swapping out colored towels for white ones. They’re pristine, and they’re more universally appealing.
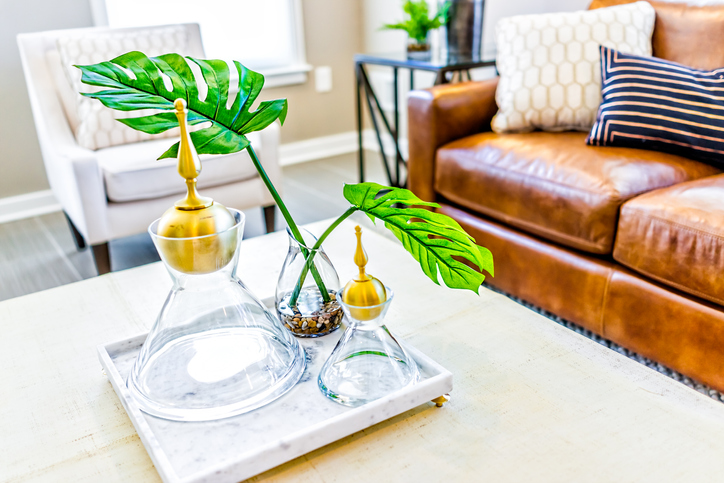
Keep the camera in mind.
In today’s real estate market, a huge part of the sale occurs online. If the photos don’t impress, buyers won’t walk in the front door. That’s why keeping the camera in mind is an easy (but often overlooked) home staging tip.
First, maximize lighting in the home. Dark photos win zero buyers. Favor the home’s natural light when possible and utilize light fixtures when the windows fall short. Check out those fixtures, too—if they’re dim, outdated or worn, swap them out for better ones.
In each room, help your client arrange the furniture around a focal point. This gives the room purpose (and it’s a zero-cost home staging tip). But don’t let anything detract from that focus, either; pull out any distracting elements. For example, certain colors like red don’t look good on camera—neutral tones are better and make the space feel larger.
And remember those pet odors we talked about? Before taking photos, be sure to clear out all signs of pets, from food dishes to toys. Your clients are selling their house, not their furry friend.
Focus on key rooms.
Home staging takes time and effort, so if your clients are short on time, they can limit their efforts to the most important rooms. The NAR recommends the living room, the master bedroom, and the kitchen. These rooms should get the most attention; they’re deal-breakers for many buyers.
Implement these home staging tips in these focal rooms, and your DIY staging will bring the buyers in—in no time.